Mastering the Vercel AI SDK - Part 1
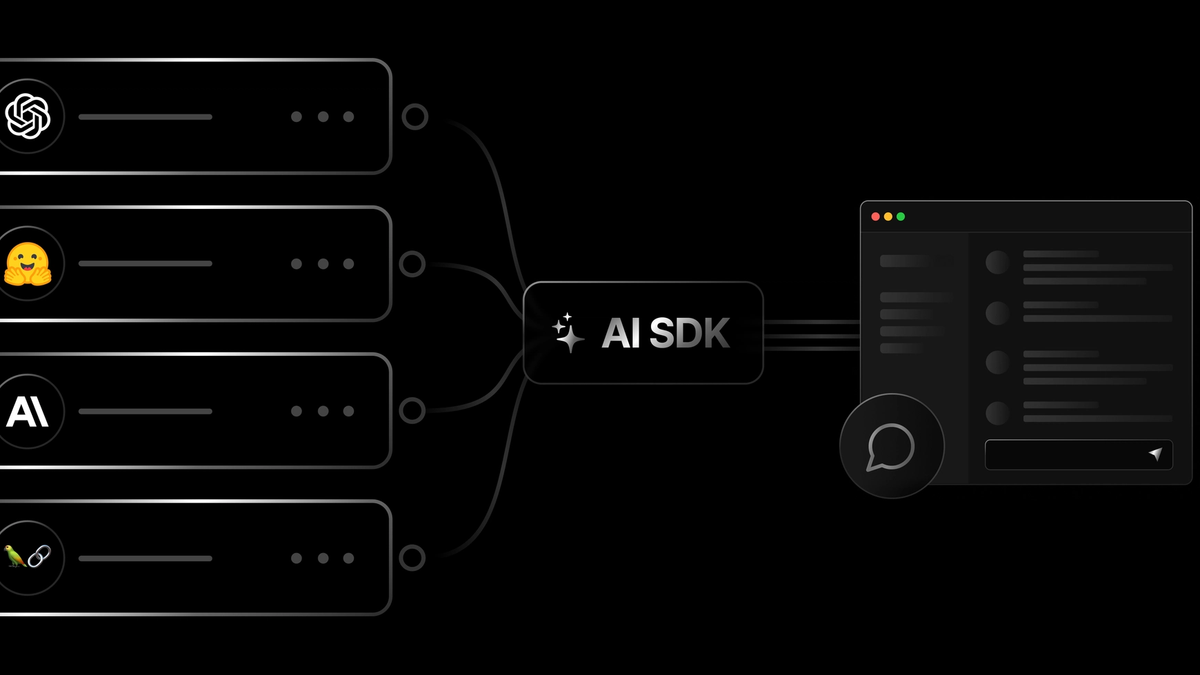
Welcome to our deep-dive series on the Vercel AI SDK! In a world increasingly powered by artificial intelligence, developers need robust, easy-to-use tools to integrate AI capabilities into their applications. The Vercel AI SDK is a powerful, open-source library designed to help you build AI-powered user interfaces with your favorite JavaScript frameworks.

Over this series, we'll explore how to harness the Vercel AI SDK for various common AI tasks, from building a simple chatbot to generating structured data. We'll provide practical examples, code snippets, and explanations to get you up and running quickly. Whether you're building a customer service bot, a content generation tool, or a data analysis application, the Vercel AI SDK has something to offer.
Let's embark on this journey to unlock the potential of AI in your web applications!
Part 1: Building Your First Basic Chatbot with the Vercel AI SDK
Introduction
Welcome to the first part of our series on the Vercel AI SDK! Today, we're starting with a classic: building a basic chatbot. Chatbots are a fantastic way to engage users, provide instant support, or simply add an interactive AI element to your application. The Vercel AI SDK makes this surprisingly straightforward, especially when paired with a framework like Next.js.
In this post, we'll cover:
- Setting up your Next.js project.
- Installing the Vercel AI SDK and necessary provider libraries (we'll use OpenAI).
- Creating a simple API route to handle chat requests.
- Building a React component to interact with the chatbot.
Prerequisites
- Node.js (v18+) and npm/yarn installed.
- A Vercel account (for easy deployment, optional for local development).
- An OpenAI API key (or an API key for another supported LLM provider like Anthropic, Cohere, etc.).
- Basic knowledge of React and Next.js.
Step 1: Setting Up Your Next.js Project
If you don't have a Next.js project, create one:
npx create-next-app@latest vercel-ai-chatbot
cd vercel-ai-chatbot
Step 2: Installing Dependencies
We need the ai package (the core Vercel AI SDK) and a provider-specific package. For OpenAI, it's @ai-sdk/openai.
npm install ai @ai-sdk/openai
# or
yarn add ai @ai-sdk/openai
You'll also need to set up your OpenAI API key as an environment variable. Create a .env.local file in your project root:
# .env.local
OPENAI_API_KEY="your_openai_api_key_here"
Important: Add .env.local to your .gitignore file!
Step 3: Creating the API Route (Server-Side)
The Vercel AI SDK shines by helping manage the streaming of responses from Large Language Models (LLMs). We'll create an API route that our frontend will call.
Create app/api/chat/route.ts (if using App Router, which is default for new Next.js projects):
// app/api/chat/route.ts
import { OpenAI } from '@ai-sdk/openai';
import { streamText } from 'ai';

// Allow streaming responses up to 30 seconds
export const maxDuration = 30;

// IMPORTANT! Set the runtime to edge
export const runtime = 'edge';

const openai = new OpenAI({
  apiKey: process.env.OPENAI_API_KEY,
});

export const POST = async (req: Request) => {
  const { messages } = await req.json();

  const result = await streamText({
    model: openai('gpt-40'), // Or any other supported model
    messages,
  });

  // Respond with the stream
  return result.toDataStreamResponse();
}
Explanation:
runtime = 'edge': This is crucial for Vercel Edge Functions, which are ideal for streaming AI responses with low latency.maxDuration = 30: Configures the maximum duration the Edge Function can run.OpenAI: We instantiate the OpenAI provider with our API key.streamText: This is the core function from theaipackage for generating streaming text responses. It takes the language model and the message history.messages: The Vercel AI SDK expects messages in a specific format (an array of objects withroleandcontent). TheuseChathook on the client-side will handle this for us.result.toAIStreamResponse(): This converts the AI SDK's stream into aStreamingTextResponse, which is a Vercel helper for streaming data to the client.
Step 4: Building the Chat UI (Client-Side)
Now, let's create the frontend component. Modify your app/page.tsx:
// app/page.tsx
'use client';

import { useChat } from '@ai-sdk/react';

const Chat = () => {
  const { messages, input, handleInputChange, handleSubmit } = useChat();
  // By default, useChat will call the `/api/chat` endpoint

  return (
    <div className="flex flex-col w-full max-w-md py-24 mx-auto stretch">
      {messages.map(message => (
        <div key={message.id} className="whitespace-pre-wrap py-2">
          <strong>{message.role === 'user' ? 'User: ' : 'AI: '}</strong>
          {message.parts.map((part, i) => {
            switch (part.type) {
              case 'text':
                return <div key={message.id}>{part.text}</div>
            }
          })}
        </div>
      ))}

      <form onSubmit={handleSubmit}>
        <input
          className="fixed bottom-0 w-full max-w-md p-2 mb-8 border border-gray-300 rounded shadow-xl text-black"
          value={input}
          placeholder="Say something..."
          onChange={handleInputChange}
        />
      </form>
    </div>
  );
}
export default Chat
Explanation:
'use client': Marks this as a Client Component in Next.js App Router.useChat: This powerful hook from@ai-sdk/react handles:- Managing the chat message history (
messages). - Storing the current user input (
input). - Providing
handleInputChangeto updateinputon typing. - Providing
handleSubmitto send the messages to your API endpoint (/api/chatby default) and append the AI's streaming response.
- Managing the chat message history (
- The UI is simple: it maps over
messagesto display the conversation and provides an input form.
The LLM's response is accessed through the 'message parts' array. Each message contains an ordered array of parts, which represents the full content generated by the model in its response. These parts can include plain text, reasoning tokens, and other elements that will be explained later. The array preserves the sequence of the model's outputs, enabling you to display or process each component in the order in which it was generated.
Step 5: Running Your Chatbot
Start your Next.js development server:
npm run dev
# or
yarn dev
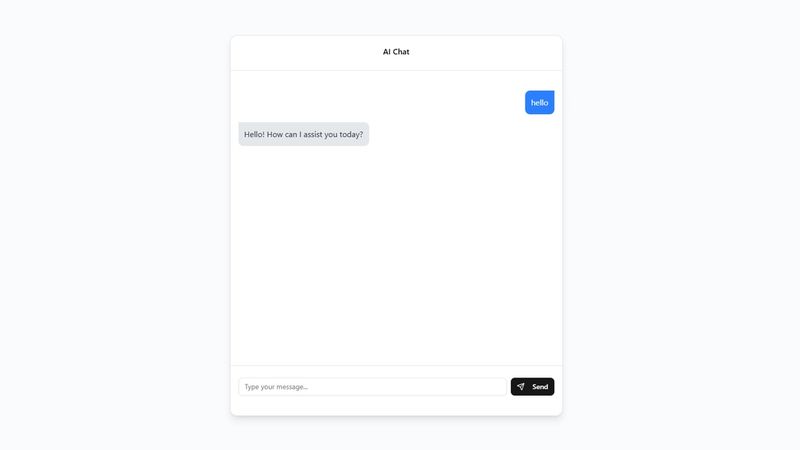
Open http://localhost:3000 in your browser. You should see a simple input field. Type a message and press Enter. You'll see the AI's response stream in!

Chatbot UI
Key Takeaways
- The Vercel AI SDK, particularly the
useChathook andstreamTextfunction, significantly simplifies building streaming chat interfaces. - Edge Functions (
runtime = 'edge') are recommended for low-latency AI responses. - The SDK handles message history and streaming for you, allowing you to focus on the UI and backend logic.
What's Next?
In the next part of this series, we'll enhance our chatbot by giving it "tools" – the ability to call functions and interact with external APIs based on the conversation. This unlocks much more powerful and dynamic interactions!
Stay tuned!